A Deep Dive into Google Cloud Storage: What it is, why, how, and when to use it — part 2
Understand storage classes, lifecycle management, and access control policies & permissions on GCS

In this post, we will dive a bit further into google cloud storage. In summary, we will be looking at the different classes of storage and when to use them, lifecycle management, managing access, and permissions for objects stored on GCS signed URLs and more.
Key subtopics we will cover
- Storage classes on GCS
- Lifecycle Management
- Access control policies and permissions
Prerequisite
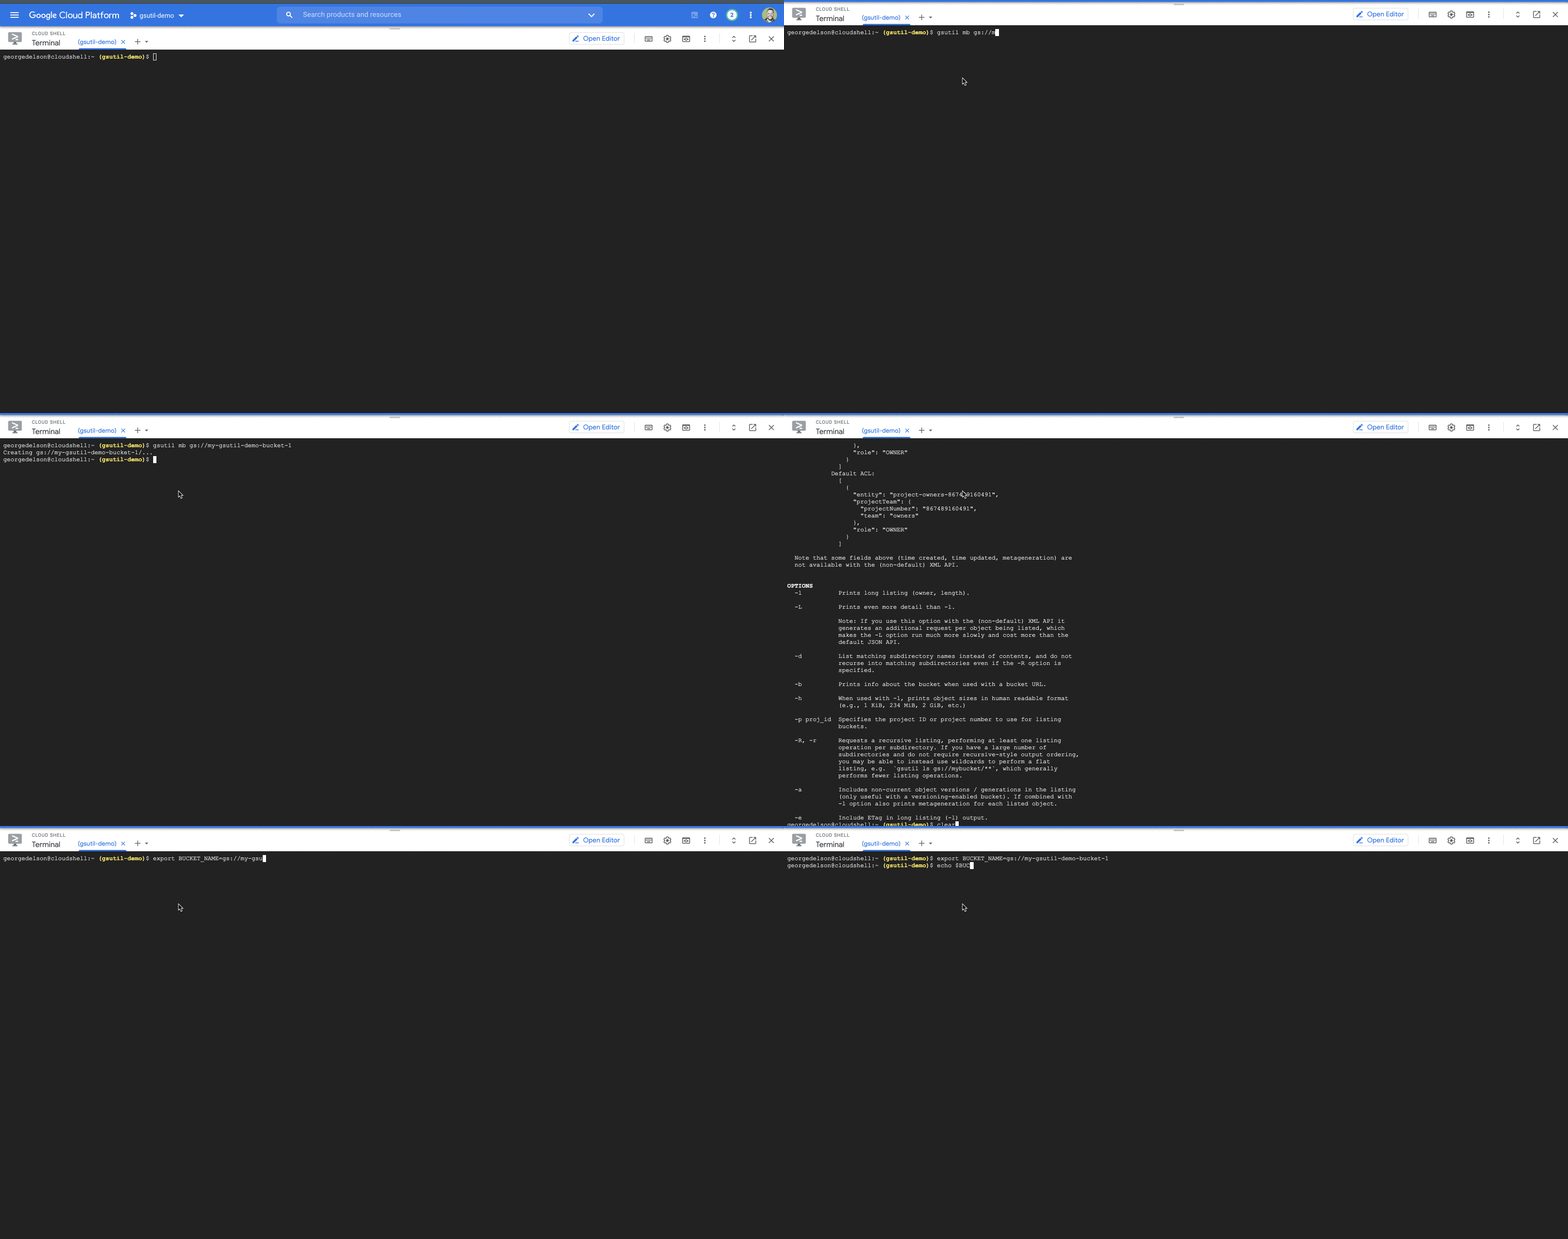
Please follow the steps below to create a bucket on google cloud storage and upload our test object which we will be using going forward. The demo below is sufficient. However, if you will like to understand this process in more detail, please read my previous post here, where we went through creating a new bucket and uploading a cat photo to our newly created bucket, as this builds on the knowledge of knowing what GCS is and how to create and upload objects to your cloud storage bucket.

Now that you have your bucket setup and have copied our cat photo to the bucket, we can proceed.
Storage classes on GCS
There are 4 main classes of storage on GCS.
- Standard
- Nearline
- Coldline
- Archival
Standard storage:
This is the default storage class assigned to our newly created bucket. It is the default for all new objects when no specific storage class is specified.
This storage class is ideal for objects that require frequent reads/access such as website content, frequently accessed images, videos, etc.
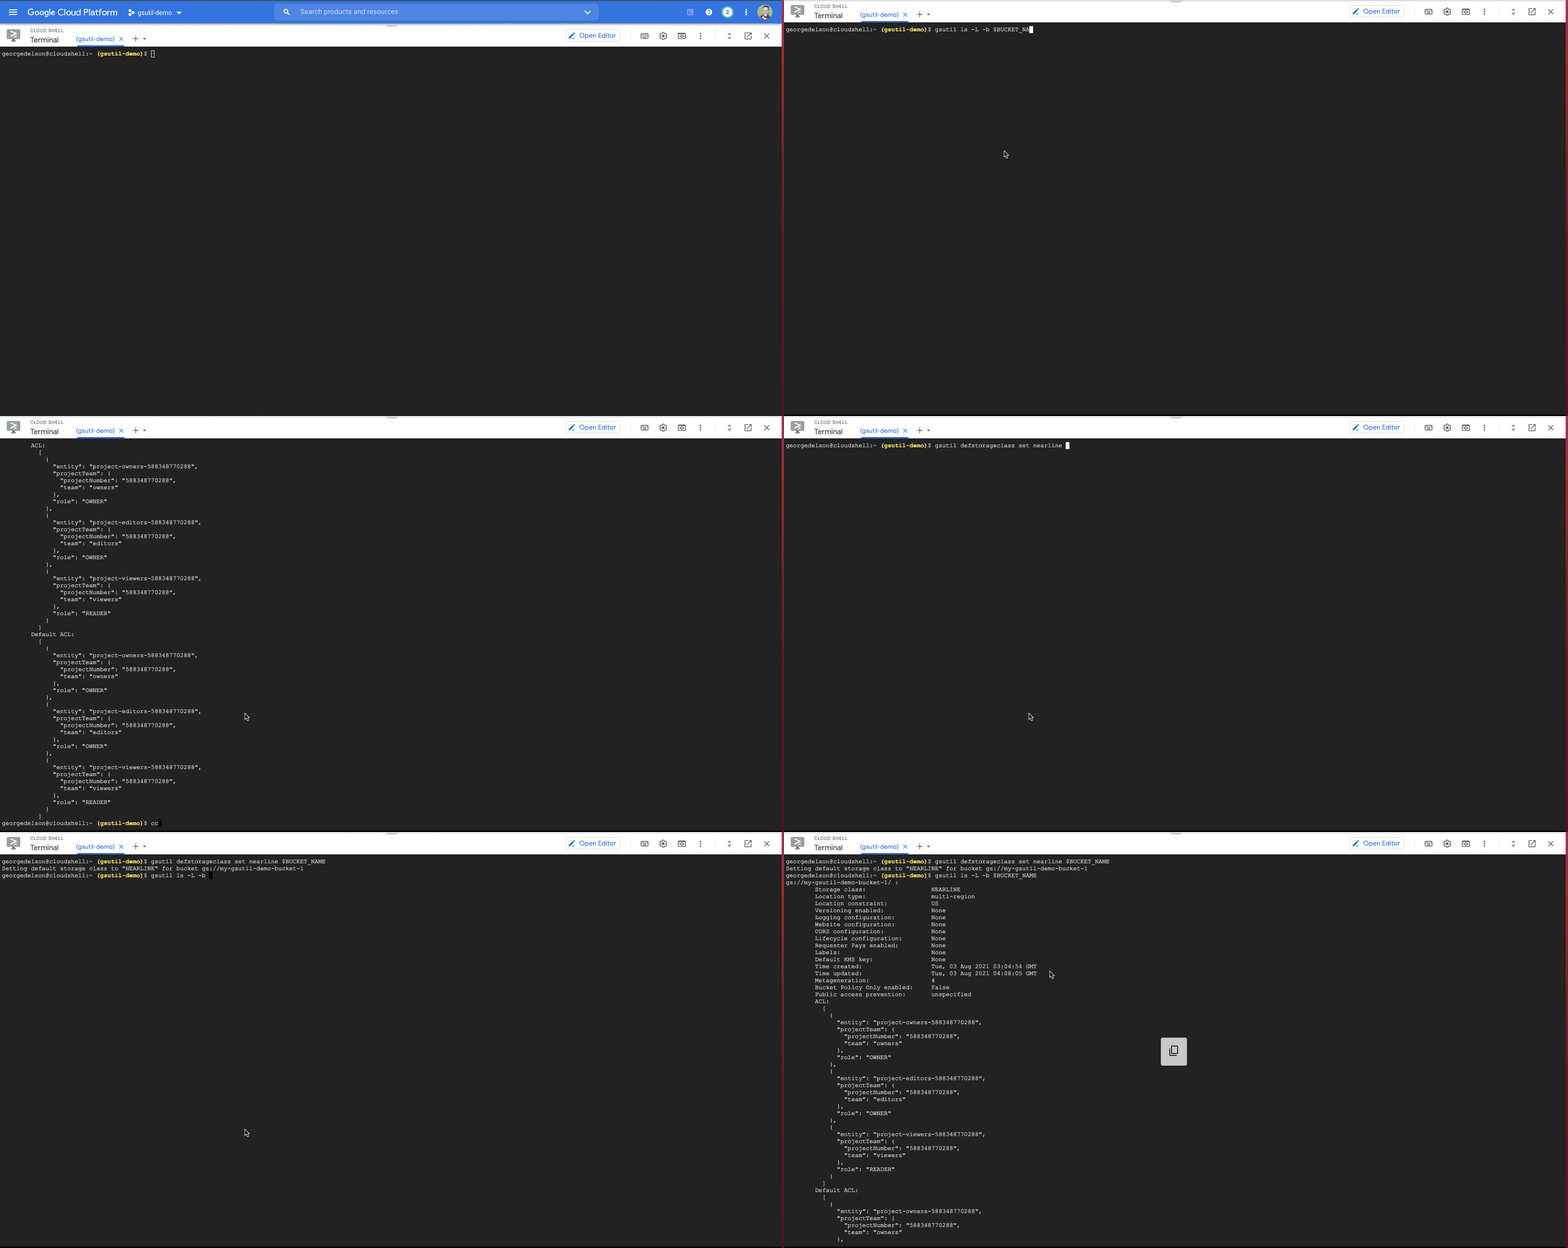
To view the storage class of our newly created object, use the below command on Google cloud shellgsutil ls -L -b $BUCKET_NAME// sample output:
Storage class: STANDARD
Location constraint: US
Versioning enabled: False
Logging configuration: None
Website configuration: None
CORS configuration: None
Above we see the default storage class assigned to the bucket on the first line as expected. We can change this and we will be doing so later in this post.
Standard storage has a 99.9% availability SLA for regional storage and up to 99.95% availability for multiregional storage.
Nearline storage
Nearline storage is ideal and durable storage for data that is accessed at most once in a 30 days period. Here, there is a tradeoff of availability for a lesser cost of storage. Higher charges occur for frequent access to data stored using Nearline storage. All object types that can be stored in standard storage can also be stored using Nearline storage with the benefits of lower costs of storage. This storage class should be used when access to stored data is not frequently required.
Nearline storage has a 99.0% availability SLA for regional storage and up to 99.9% availability for multiregional storage.
Coldline storage
Coldline storage is ideal and durable storage for data that is accessed at most once in a 90 day period/once a quarter. Here, there is a tradeoff of availability for a much lesser cost of storage. High charges will be incurred for frequent access to data stored in coldline storage and nearline storage. Only use this storage class for infrequently accessed data to minimize costs.
Coldline storage has a 99.0% availability SLA for regional storage and up to 99.9% availability for multiregional storage. These numbers are the same for nearline storage.
Archive storage
As the name implies, this storage class is ideal and durable storage for backup data that is expected to be accessed at most once in a 360 day period/once a year. archived data is available when needed for use immediately, however, higher charges are incurred for data access. This storage class also has the lowest cost for data storage. Only use archival storage when storing backup data that is not expected to be accessed more than once in a year.
Archive storage also has a 99.0% availability for regional storage and up to 99.9% availability for multiregional storage.
Now that we understand the different types of storage classes, let us change the default storage class of our object and bucket from standard storage to nearline storage.
GCS provides three ways we can achieve this.
- Change the bucket storage class from standard to a new storage class (note: this does not change the storage class for existing objects in the bucket)
- Rewrite our object in the bucket to use new storage class
- Use GCS Lifecycle management
Changing our bucket storage classgsutil defstorageclass set <new_class> $BUCKET_NAME

Rewriting our cat object to use a new storage class
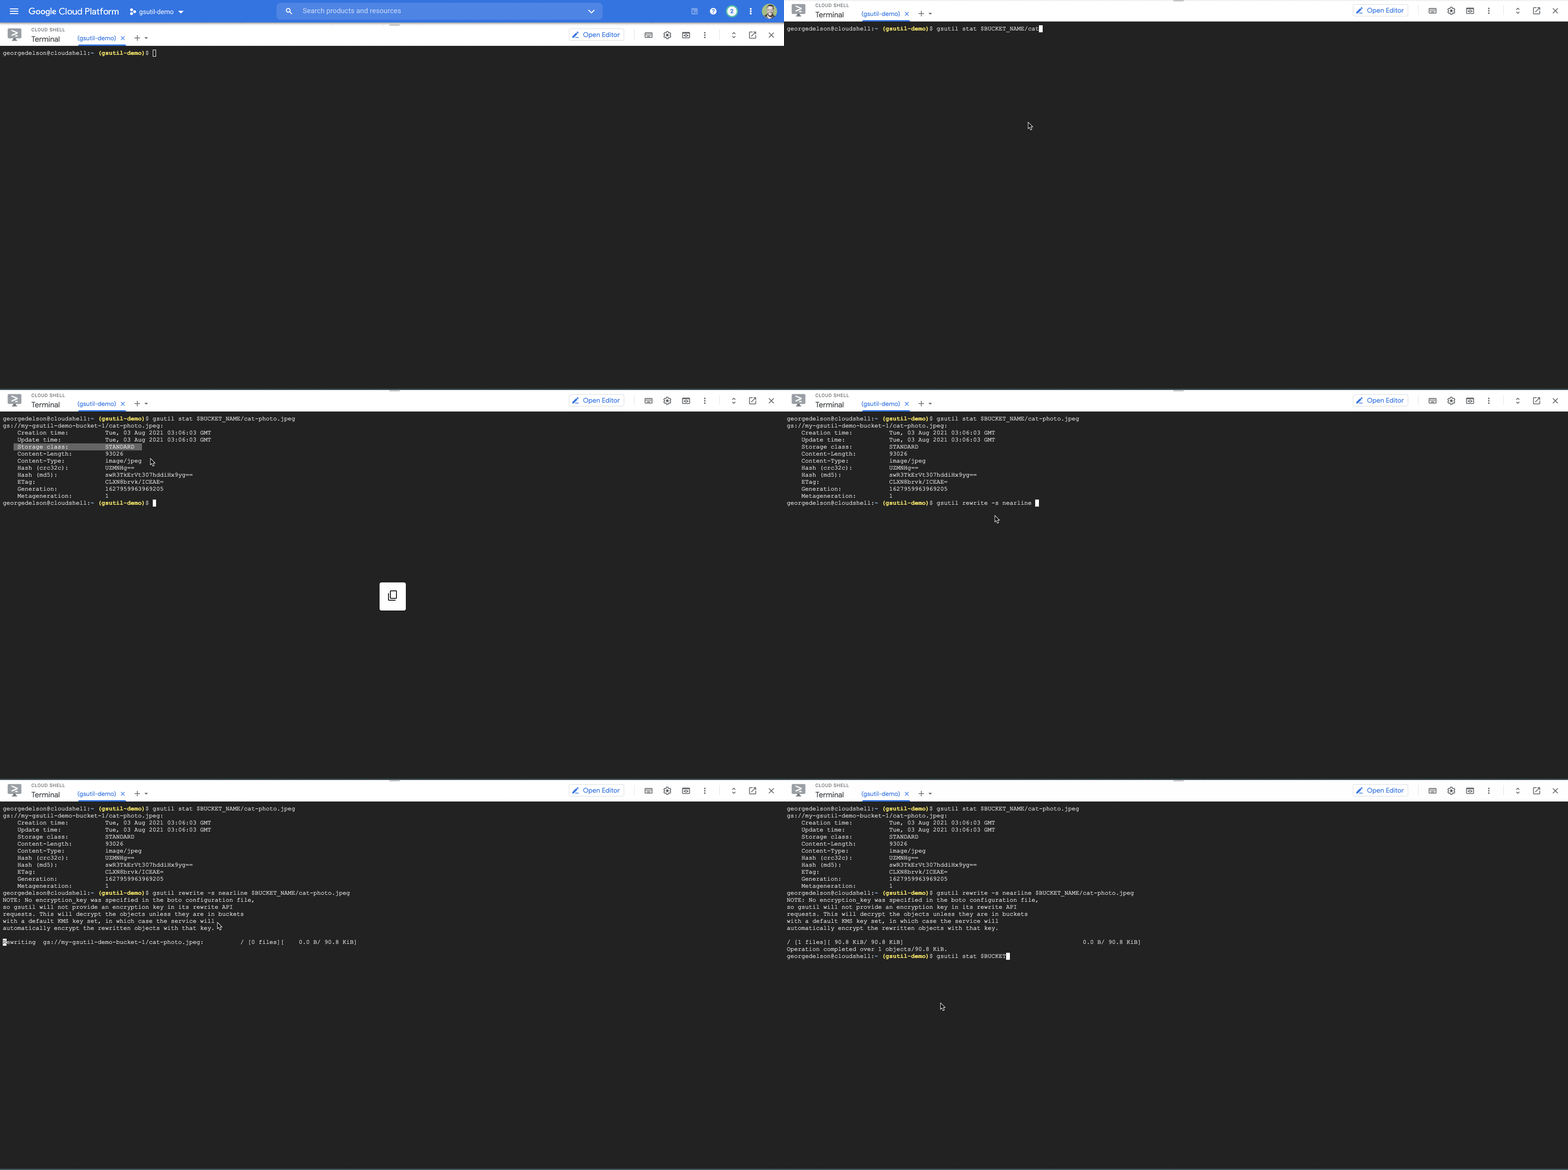
As stated earlier, changing the default storage class on our bucket does not change the storage class of our cat photo already in the bucket. now let's change that.gsutil stat $BUCKET-NAME/cat-photo.jpeggsutil rewrite -s nearline $BUCKET_NAME/cat-photo.jpeg

If you get a prompt about a missing encryption key, this is because our object is not encrypted with a custom key yet so you can ignore that for now.
Lifecycle Management
GCS supports custom configuration for buckets called lifecycle configurations.
A lifecycle configuration is basically a combination of a lifecycle rule and a lifecycle condition. These configurations apply to all current and new objects written to a bucket automatically. It has many uses cases. For example, it allows us automatically change the storage class of a bucket based on some set condition to save costs and effort, managing object versions, etc.
Now, let's set up a simple lifecycle configuration for our previously created object, changing its class from Standard to Nearline.
We will be applying the following lifecycle configuration to our bucket. Changing its class to nearline storage for all objects older than 1 day. (Note: I am writing this after a couple of days of creating the bucket){
"lifecycle": {
"rule": [
{
"action": {
"type": "SetStorageClass",
"storageClass": "NEARLINE"
},
"condition": {
"age": 1,
"matchesStorageClass": ["STANDARD"]
}
},
]
}
}
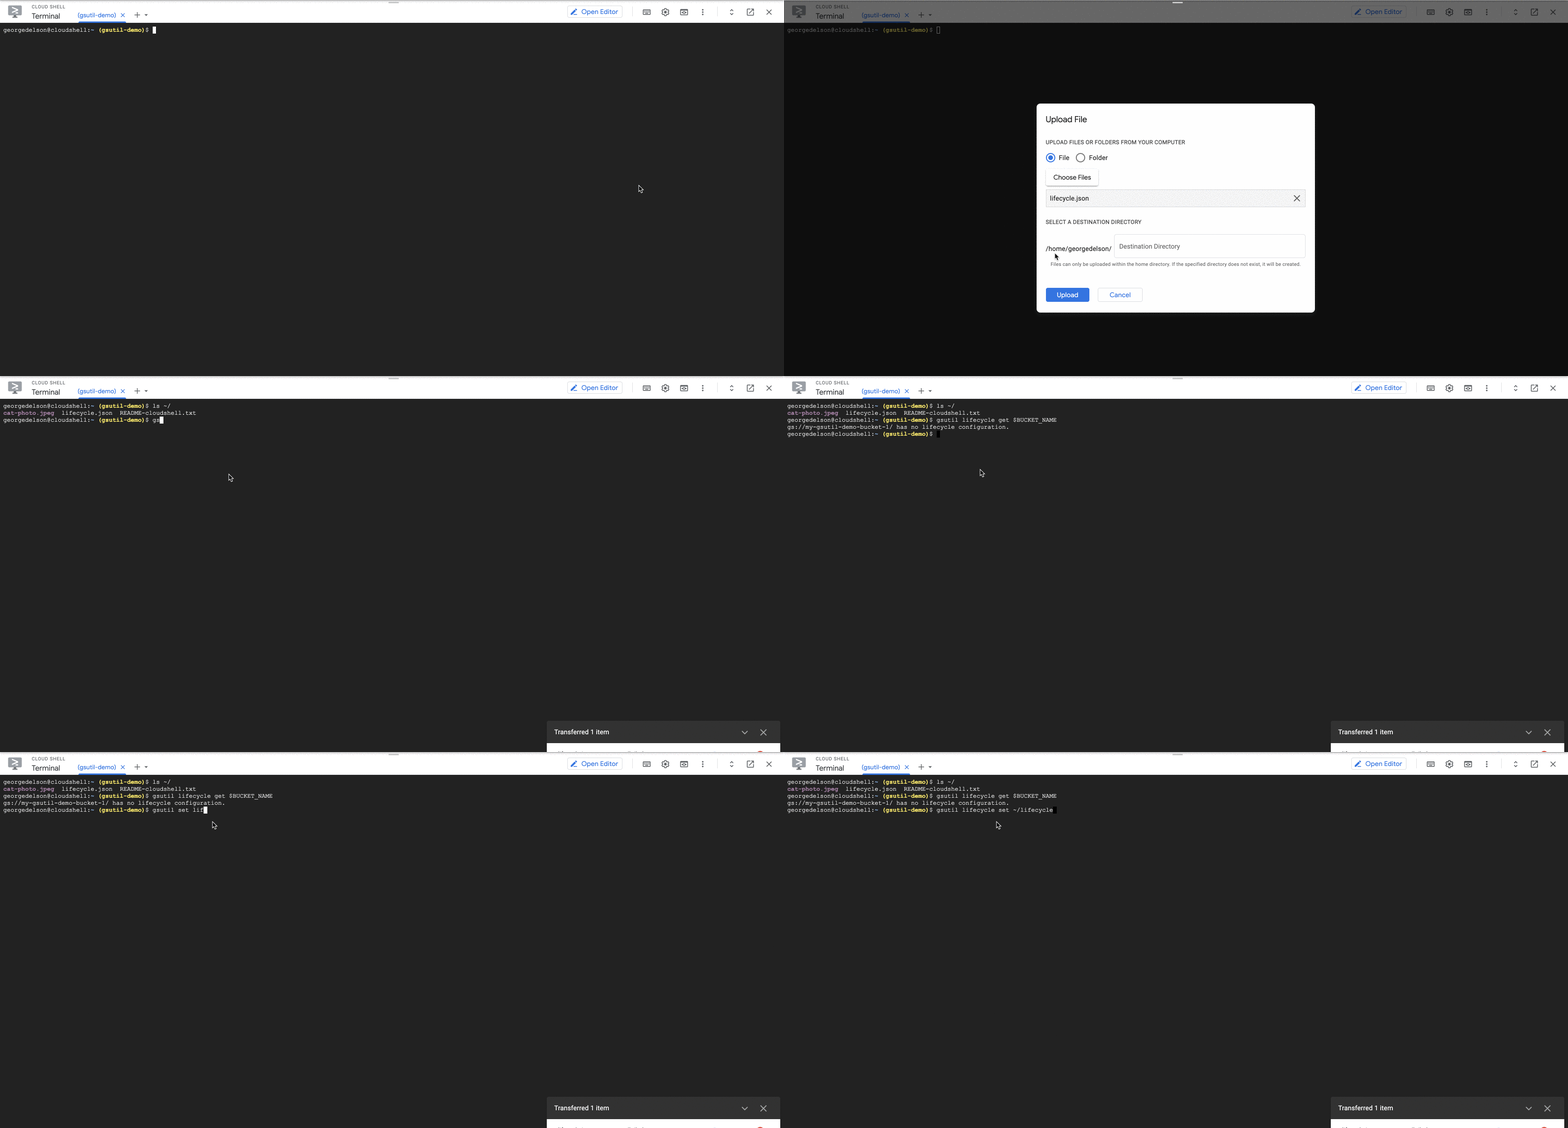
Save the above configuration in a JSON file. I’ll call mine lifecycle.json. You can download it from this gist and copy its content into the root of your cloud shell ready to be applied to our bucket.
Next, we apply our lifecycle configuration to our bucket.
Note: if your bucket is still using NEARLINE storage, change it to STANDARD before proceeding with gsutil defstorageclass set STANDARD $BUCKET_NAMENow, setup lifecycle configuration with:gsutil lifecycle set LIFECYCLE_CONFIG_FILE $BUCKET_NAME// OUTPUT
Setting lifecycle configuration on gs://my-gsutil-demo-bucket-1/...

Congratulations! now your current and future objects in your bucket will automatically be migrated to NEARLINE storage once they are over a day old.
There are some limitations as to what types of transition can happen from one storage class to another. typically migrating from a lower-cost storage type such as COLDLINE to NEARLINE is not allowed using lifecycle configurations and a few more limitations you should check out.
As of the time of this writing, the following lifecycle conditions are supported on GCS.
- Age
- CreatedBefore
- CustomTimeBefore
- DaysSinceCustomtime
- DaysSinceNoncurrentTime
- IsLive
- MatchesStorageClass (the one we used above)
- NoncurrentTimeBefore
- NumberOfNewerVersions
We wouldn’t go into what each of these means but their names are pretty much self-explanatory.
Access Control Policies and Permissions
When creating new buckets, There are primarily two main ways to assign permissions on GCS.
- Uniform (recommended)
- Fine-grained
Uniform: Using uniform automatically sets the permissions of underlying objects based on the permissions set on the bucket. All current and future objects will inherit this permission on the bucket. This is more secure as you no longer need to manually manage permissions for each object that is added to the bucket and gives more reliability. Uniform access controls use IAM to manage permissions.
Fine-grained: This uses IAM and access control lists to allow fine-grained access configurations on individual objects in a bucket. Use fine-grained when you require permission management on the object level and not just on the bucket level.
There are other forms of permissions support on GCS, some of which include Signed URLs, Signed Policy Documents, Public Access Prevention, etc. but we will only look at signed URLs in this post.
Signed URLs: Signed URLs allow us to grant unique object access to anyone based on a timed duration. For example, we can grant access to our cat photo to anyone for 10minutes using a signed URL as shown below:
To generate a signed URL for our object using the gsutil command, we need to first create a service account key.gcloud iam service-accounts keys create $KEY_FILE_NAME \
--iam-account=$SERVICE_ACCOUNT_NAME@$PROJECT_ID.iam.gserviceaccount.com
Here $KEY_FILE_NAME is the name of the service account key we intend to generate, $SERVICE_ACCOUNT_NAME is the name of the service account we intend to generate a key for and $PROJECT_ID is the id of our google cloud project.
If you do not have a service account ready, you can create one here on GCP console.
You should get an output such as the following after creating your service key.created key [XXXXXXXXXX] of type [json] as
[/usr/home/$USERNAME/$KEY_FILE_NAME] for
[$SERVICE_ACCOUNT_NAME@$PROJECT_ID.iam.gserviceaccount.com]
Next, we install the pyopenssl library which is a requirement for generating signed URLs withpip install pyopenssl
Finally, we can generate our signed URL using our created service key.gsutil signurl -d 10m ~/$KEY_FILE_NAME.json $BUCKET_NAME/cat-photo.jpeg// OUTPUT
URL HTTP Method Expiration Signed URL
$BUCKET_NAME/cat-photo.jpeg GET 2021-08-07 12:15:30 https://storage.googleapis.
com/xxxxxxxxxxxxxxxxxxxxxxxxxxxxxxxxx
Congratulations on getting this far. We can now share our generated URL with anyone and they will have a 10minutes access to our cat photo.
Conclusion
In this post, we have explored several concepts about GCS including storage classes in GCS, Lifecycle Management, and Access control policies and permissions. Hopefully, this has added to your knowledge of the GCS service.
Till next time, stay awesome!
